My first idea for part two of this story was to write something about the electrical wiring and the other hidden installations, like the vacuum cleaning piping or the piping for pressurised air.
But there has been some discussions at the Swedish discussion forum byggahus.se about solutions in small shops, and someone mentioned my folding table for cutting sheet goods. So I decided to write about the table instead.
I’m not sure if the table is entirely my own idea, but I haven’t seen this kind of table in any workshop yet. Well, not in any workshop pictures on the web, that is.
Cutting sheet goods is always best made with an incredibly large sliding bed table saw or on a table using a track saw, like the Festool TS55, Makita SP6000 or a similar arrangement. In the micro workshop, there is no space for a permanent table for cutting full size sheet goods, and certainly not for a giant sliding bed table saw. So the it had to be a knock down table. And the table top could be stored hanging on a wall, along with the other parts of the table. This made me think that there must be a better way. If I could fold the table top up from the wall… then the height of the upfolded table had to be at least 1200 mm (4’). That’s not a proper table height for a cutting table. So I started to thing about how to design a 4-bar linkage to make the table fulfill the following requirements:
The table top’s center of gravity had to be on the same height upfolded and downfolded, making it easy to handle heavy sheet goods, like 25mm (1”) MDF sheets
The table width had to be 1200 mm (4’), to be able to handle full size sheet goods
All the moving links had to be located below the table top
The table top height had to be 900 mm (36”)
The thing had to fit under a ceiling height of 2200 mm (86”)
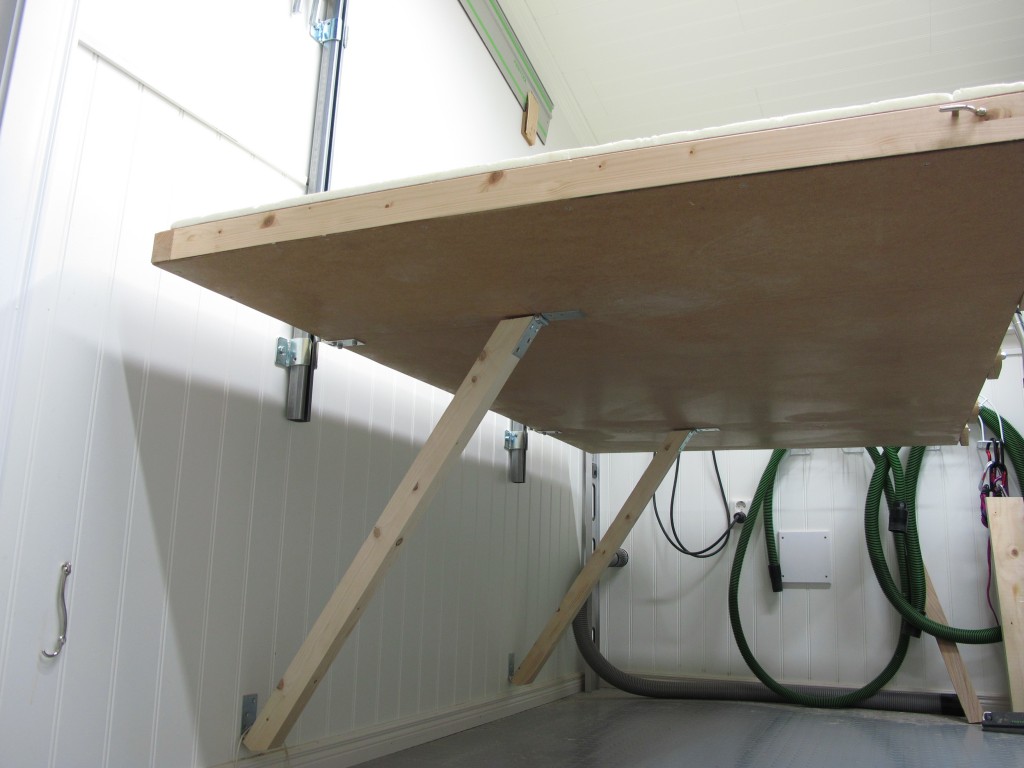
Unfortunately, I couldn’t figure out a linkage that would fulfil all these requirements. So I decided to use heavy duty hardware for sliding doors instead, together with a simple folding leg mechanism. Here is what I came up with:
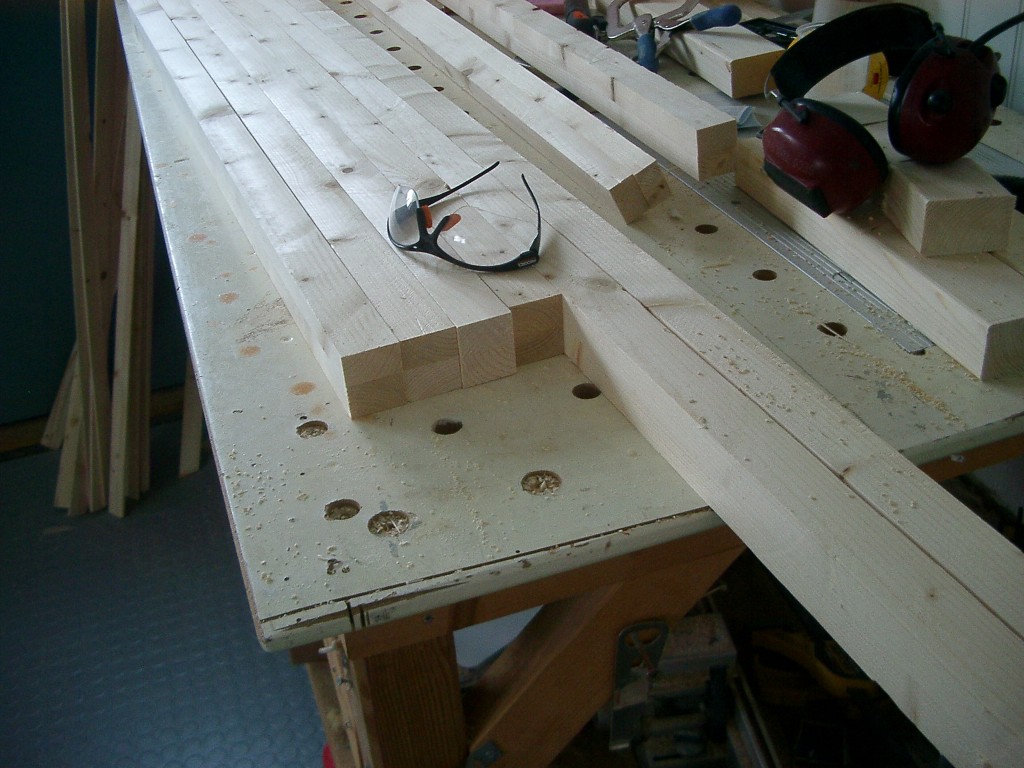
Since this solution requires a leg rather close to the wall, the table top had to be made as stiff and light as possible. I made the table top with a frame of regular 45×70 (2”x3”) that were dried, ripped in half and glued together after one of the two parts had been flipped and rotated 180 degrees. This method makes the wood less prone to warp, and the table top will not change its shape much due to seasonal changes on humidity or temperature. The method is commonly used when building flat exterior doors.
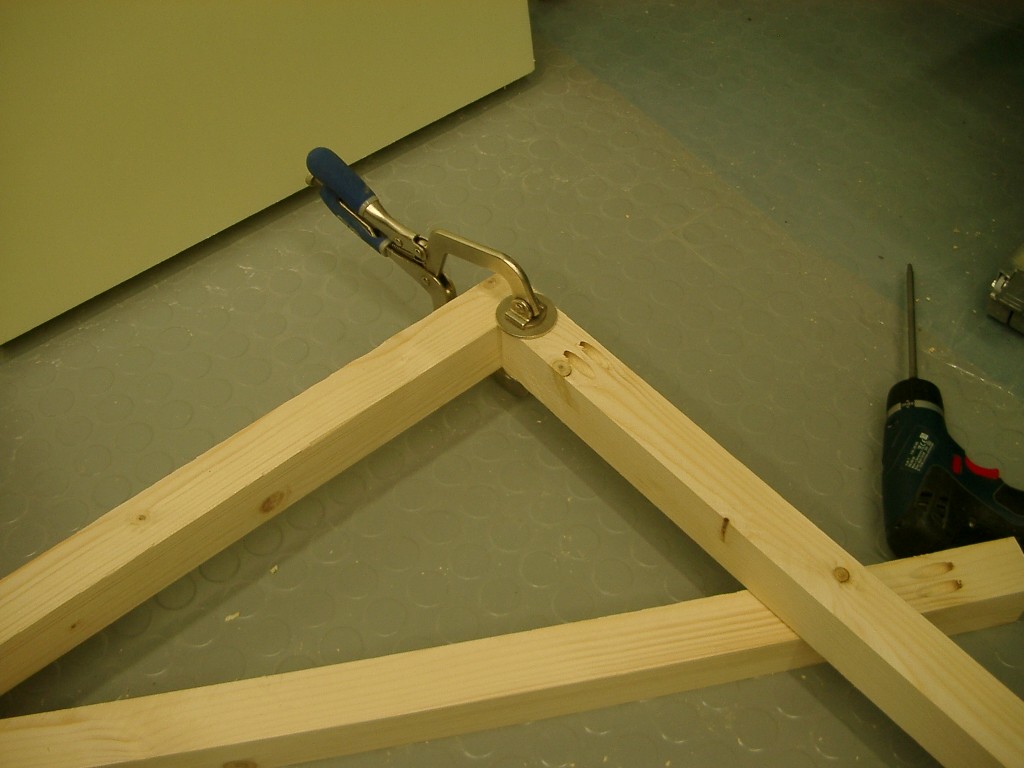
The frame was screwed together using pocket hole screws:
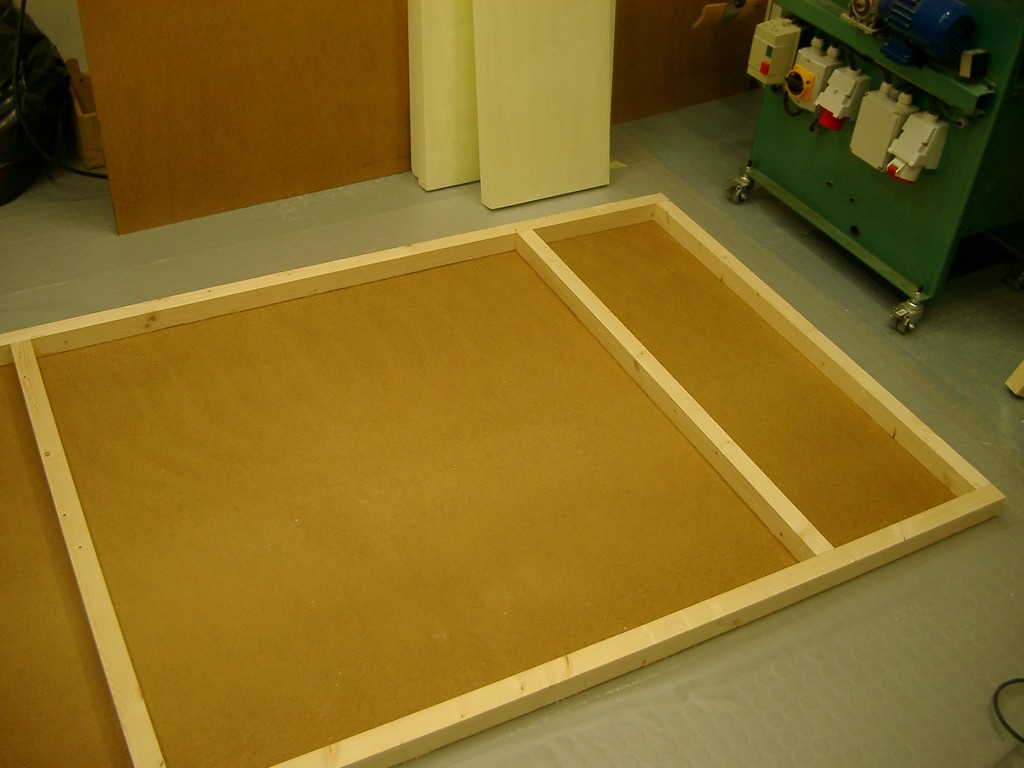
Sandwiched with High Density Fibre board
And filled with stiff XPS insulation. I Used an Urea-Formaldehyde glue of the brand Polymite.
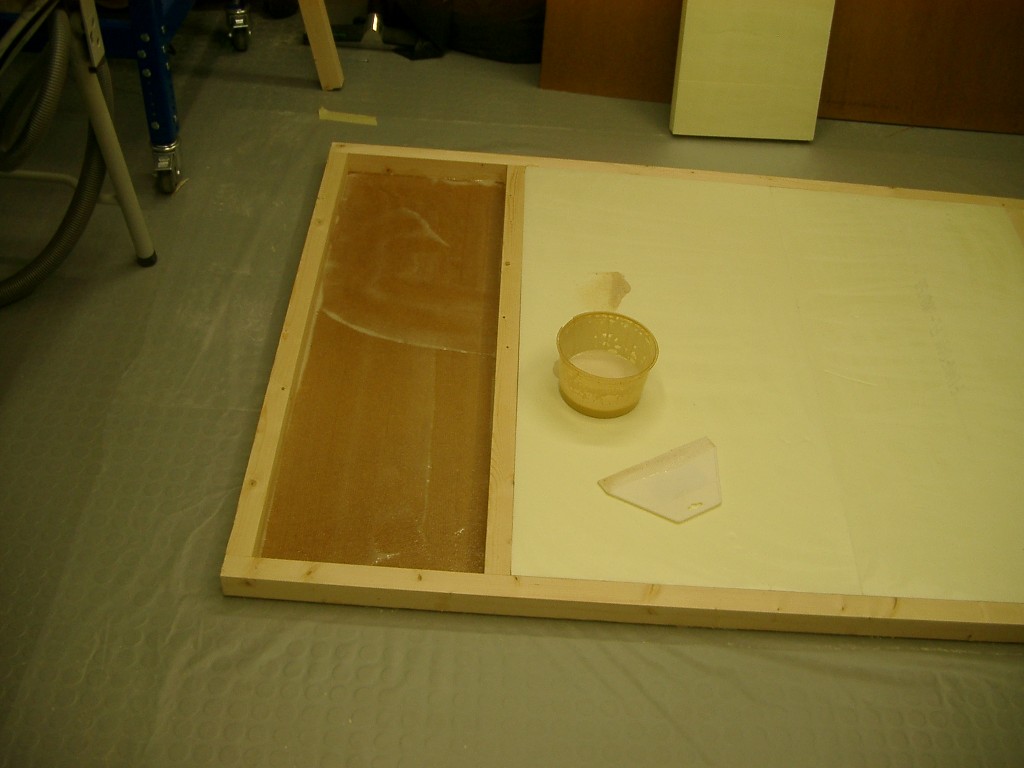
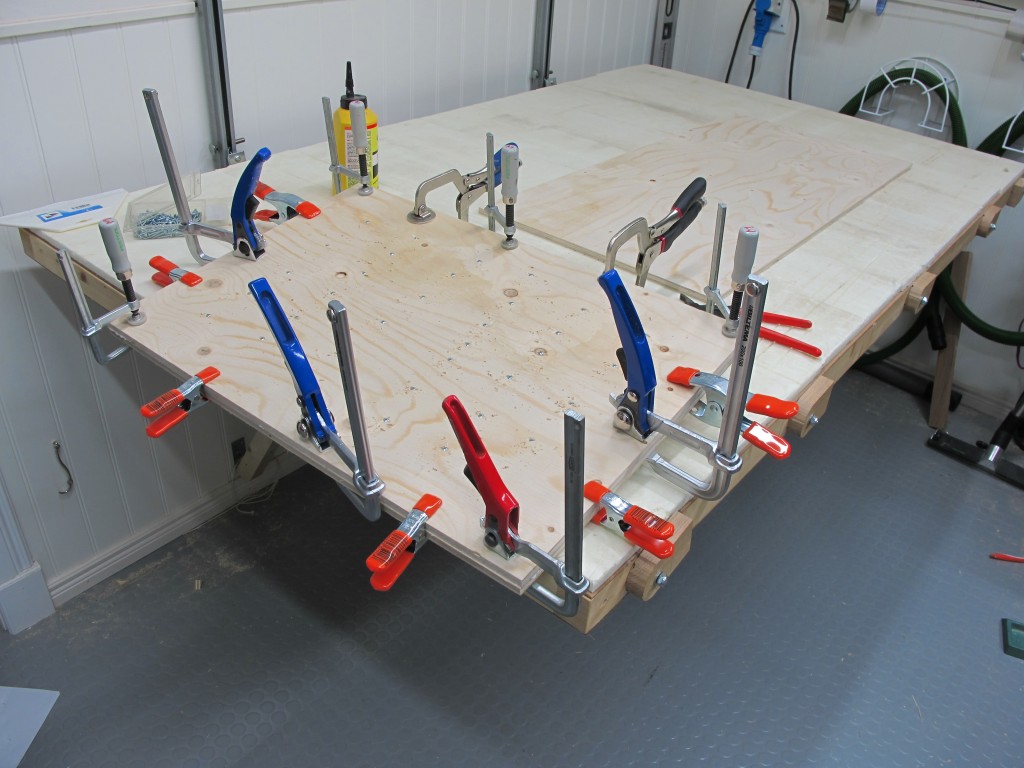
The skins were attached with glue and screws. A pneumatic crown stapler would have been faster and better. The table top was placed under pressure from a few things I had laying around in the shop.
The linkage is fairly straight forward, once the dimensions have been calculated. You can use the spread sheet below to calculate your dimensions:
I cut some left overs from the XPS insulation into 15 mm thick veneers in the bandsaw. The XPS veneers were glued to the table top with hot melt glue to make a cuttable surface. Some supports were attached to the edge of the table top. These supports are used to place sheet goods on when the table top is upfolded. These supports can be flipped out of the way when the table is downfolded and used for cutting sheet goods.
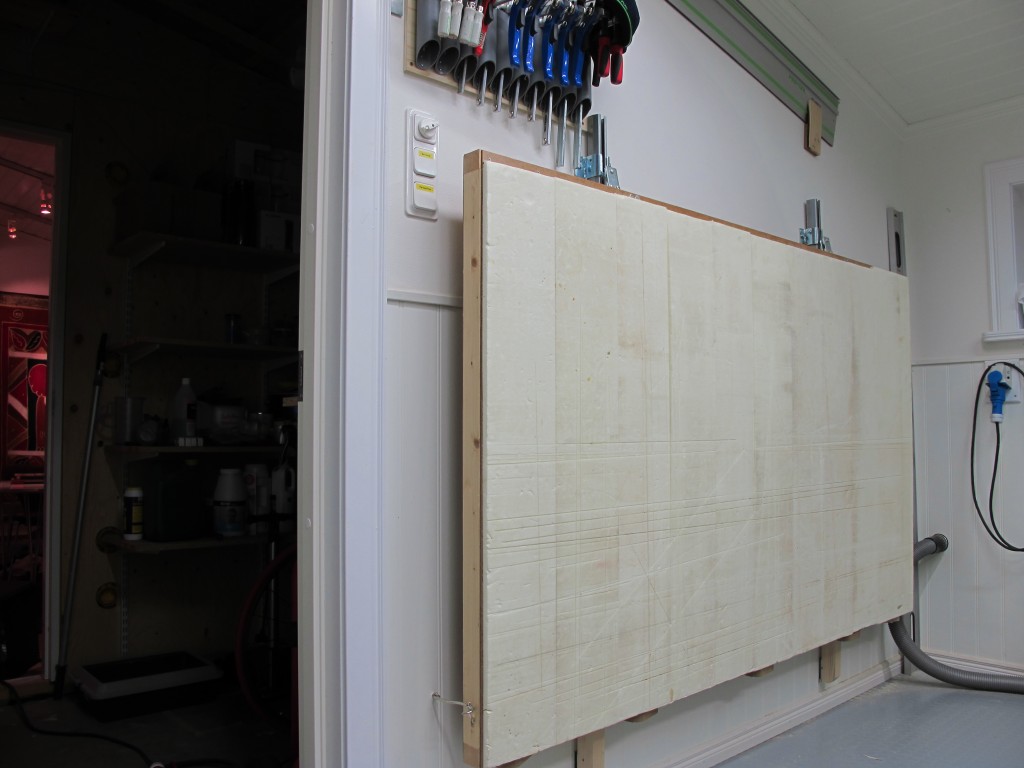
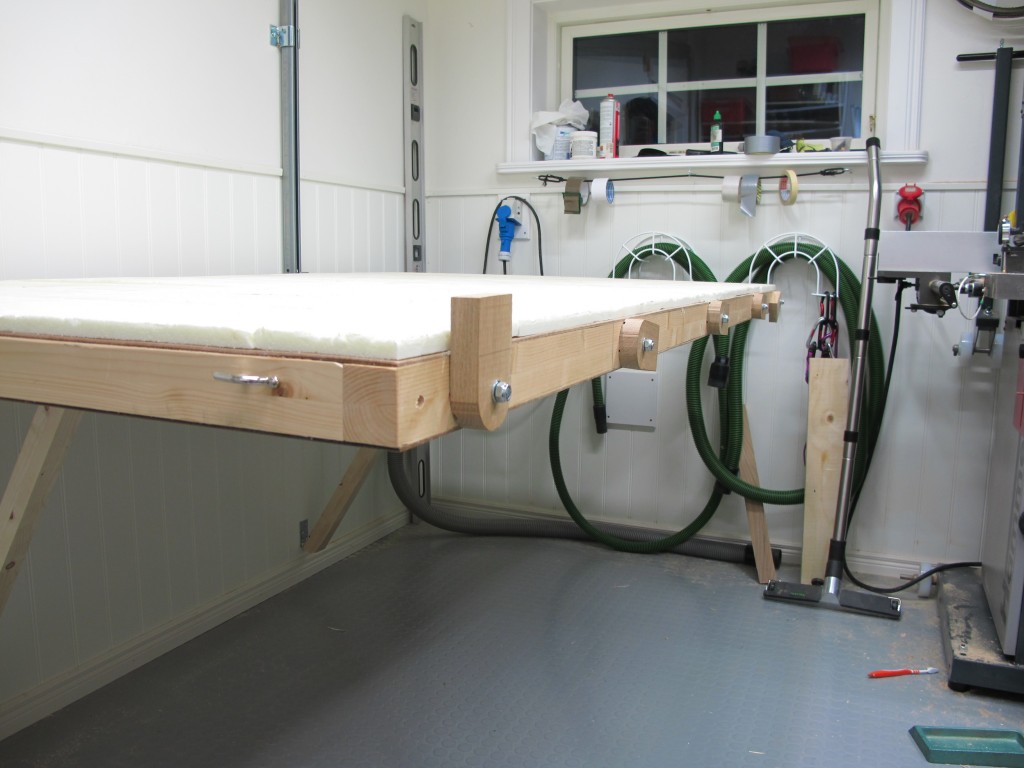 Here is how it looks when upfolded. It really saves some space:
The support legs are attached to the table with hinges. There is some metal working involved in the building the linkage. My folding table didn’t require any welding though.
The table is actually quite stable, and can be used for other things than cutting sheet goods:

Love your space. I also work in a microshop and I love seeing what others do with their small space. Hope you continue to write about your future modifications!